Jochisiu Shrine location, Keys Born of Water walkthrough in Zelda: TOTK
Jochisiu ShrineIt is situated within Tears of the Kingdom – The Legend of Zelda’s West Necluda region.
This guide can help you to find out more about the Jochisiu ShrineLocation, walk you through its challenges and solve the puzzles “Keys Born of Water”The chest is a quest that you can collect. The Light of Blessing.
When you’re done, our shrine locations page or interactive Hyrule map can direct you toward something else to do.
Jochisiu Shrine Location and Keys Born of Water Start Point
You can also find out more about the following: Jochisiu ShrineThe is located within the West NecludaJust west of the Dueling Peaks. The coordinates for the exact location are: (0931. -1902. 0030).
Jochisiu Shrine Keys Born of Water walkthrough
You can also find out more about the following: “Keys Born of Water” shrine quest that unlocks the Jochisiu Shrine tests Link’s elemental thinking and requires a bit of well-timed Ultrahand work.
:format(webp):no_upscale()/cdn.vox-cdn.com/uploads/chorus_asset/file/24693731/jochisiu_shrine_keys_born_water_1.jpg)
:format(webp):no_upscale()/cdn.vox-cdn.com/uploads/chorus_asset/file/24693732/jochisiu_shrine_keys_born_water_2.jpg)
Images: Nintendo EPD/Nintendo via Polygon
1. The stone temple is located on the side of the road. Squabble River You can now walk up the steps. Speak to the Steward Construction to the right of the diamond-holed stones slabs to activate the side quest.
:format(webp):no_upscale()/cdn.vox-cdn.com/uploads/chorus_asset/file/24693733/jochisiu_shrine_keys_born_water_3.jpg)
Image: Nintendo EPD/Nintendo via Polygon
2. After getting through the dialogues, go to the right and you will see a few dragon-faced emitters. Try each to find out which one is best. Flame EmitterWhich is the Frost Emitter. Use UltrahandBring the Frost Emitter Down to Squabble River.
:format(webp):no_upscale()/cdn.vox-cdn.com/uploads/chorus_asset/file/24693735/jochisiu_shrine_keys_born_water_4.jpg)
:format(webp):no_upscale()/cdn.vox-cdn.com/uploads/chorus_asset/file/24693736/jochisiu_shrine_keys_born_water_4_2.jpg)
Images: Nintendo EPD/Nintendo via Polygon
3. After you have reached the shallow cove near the Zonai Arch, activate and set up your device. Frost Emitter.Use Ultrahand Lifting the Frost Emitter Above the water, position the device so it is pointing down. The squares will float if you blast the frosty air into the water. For easy transportation, create a whole bunch and use them. UltrahandAttach them together. Take the pile back to the temple.
:format(webp):no_upscale()/cdn.vox-cdn.com/uploads/chorus_asset/file/24693737/jochisiu_shrine_keys_born_water_5.jpg)
Image: Nintendo EPD/Nintendo via Polygon
4. Place the sheet of ice on the forehead and shake it. Use UltrahandIt is best to place the ice vertically into the hole of the first slab. Click the ice into the stone to unlock the first temple pillar.
:format(webp):no_upscale()/cdn.vox-cdn.com/uploads/chorus_asset/file/24693738/jochisiu_shrine_keys_born_water_6.jpg)
Image: Nintendo EPD/Nintendo via Polygon
5. Find your Flame EmitterUse it to start the campfire that was extinguished in the middle of the temple. If the flame has already started, you can use UltrahandTo grab the sheet and place it vertically. It’s too large for the next hole in the diamond, but if you hold the sheet over the flames for a few seconds it will melt. When sized correctly, it’ll click right into and unlock the second diamond-holed slab.
:format(webp):no_upscale()/cdn.vox-cdn.com/uploads/chorus_asset/file/24693739/jochisiu_shrine_keys_born_water_7.jpg)
Image: Nintendo EPD/Nintendo via Polygon
6. Do the same thing with the next sheet of ice, but let it melt down even more until it’s half the size of a normal sheet. Click the ice into the diamond-holed third slab.
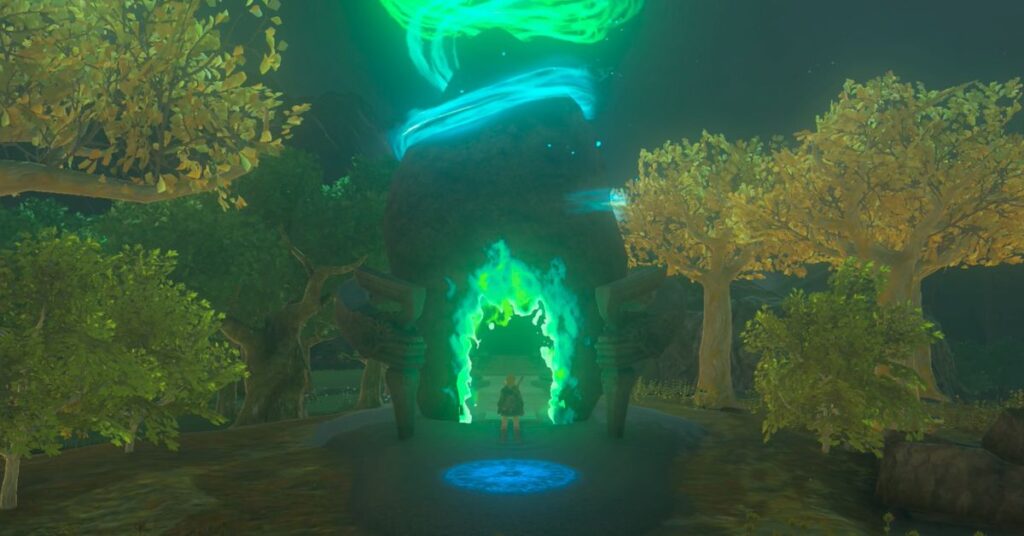
7. The shrine will be created once all the stone slabs have been placed. The shrine is located on the hillside to your right after you exit the temple. Jochisiu ShrineSitting above the trees is a great way to enjoy nature.
:format(webp):no_upscale()/cdn.vox-cdn.com/uploads/chorus_asset/file/24693740/jochisiu_shrine_keys_born_water_8.jpg)
8. You will find an item in the chest when you enter the shrine. Big Battery. Triggering the sigil will collect your The Light of Blessing.
#Jochisiu #Shrine #location #Keys #Born #Water #walkthrough #Zelda #TOTK