
Sifumim Shrine solution in Zelda: Tears of the Kingdom
The Sifumim Shrine is situated inside The Legend of Zelda: Tears of the Kingdom’s East Neculda area.
Our information will enable you to discover the Sifumim Shrine location, clear up its puzzles, and stroll you thru the “Proving Grounds: Circulate” trial to gather the chest and Mild of Blessing.
While you’re completed, our shrine areas web page or interactive Hyrule map can direct you towards one thing else to do.
Sifumim Shrine location
:format(webp):no_upscale()/cdn.vox-cdn.com/uploads/chorus_asset/file/24668400/TOTK_Sifumim_shrine_location.jpg)
Graphic: Johnny Yu/Polygon | Supply photos: Nintendo EPD/Nintendo by way of Polygon
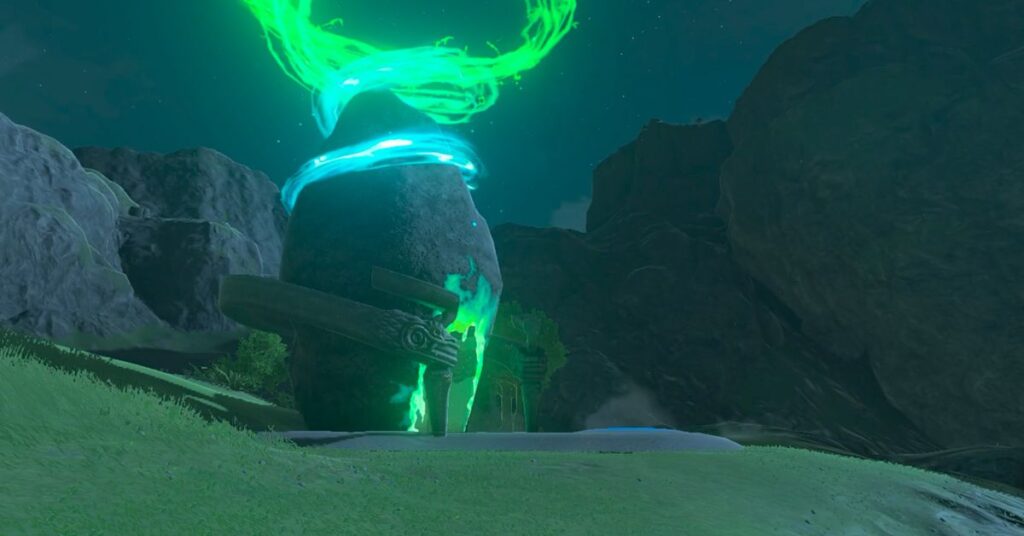
The Sifumim Shrine is discovered inside the East Neculda area, simply northwest of Lurelin Village. The precise coordinates are (2826, -3271, 0078).
Sifumim Shrine puzzle resolution
Sifumim Shrine is a “Proving Grounds” fight shrine that strips you of your gear and pits you in opposition to a fleet of Constructs. A mix of your talents and sword expertise will set you free.
:format(webp):no_upscale()/cdn.vox-cdn.com/uploads/chorus_asset/file/24668414/sifumim_shrine_1.jpg)
Picture: Nintendo EPD/Nintendo by way of Polygon
1. You want Fuse fodder to take out some robots, so enter the shrine and choose up the Lengthy Stick, Picket Stick, and Outdated Picket Defend ready for you in your left.
2. Run into the primary shrine chamber, activate Fuse whereas wielding the Picket Stick, then connect one of many barrels in entrance of you. Watch out for Constructs firing arrows.
3. Knock out the Assemble on a close-by raft earlier than he places an arrow in your eye. Right here’s one simple solution to do it: Seize the raft with Ultrahand and dunk that sucker! When the bots hit the water they immediately explode.
:format(webp):no_upscale()/cdn.vox-cdn.com/uploads/chorus_asset/file/24668418/sifumim_shrine_2.jpg)
Picture: Nintendo EPD/Nintendo by way of Polygon
4. Whereas avoiding the second Assemble firing arrows additional again within the Shrine, soar on to the floating raft and Ascend to the center degree. Ascend once more to succeed in the highest of the raft.
:format(webp):no_upscale()/cdn.vox-cdn.com/uploads/chorus_asset/file/24668419/sifumim_shrine_3.jpg)
Picture: Nintendo EPD/Nintendo by way of Polygon
5. As soon as atop the raft, paraglide right down to the subsequent part of platform forward. Run to the left to discover a Sturdy Picket Stick. Activate Ultrahand to seize the boat in entrance of you and ship one other Assemble to its watery doom.
6. Race across the octagonal platform and proceed to seize rafts and flip two extra Constructs into the water. Don’t really feel unhealthy they deserved it!
7. As soon as the sailor Constructs are cleared, head towards the ladder on the suitable facet of the shrine to sneak up on one other arrow-firing Assemble.
:format(webp):no_upscale()/cdn.vox-cdn.com/uploads/chorus_asset/file/24668423/sifumim_shrine_4.jpg)
Picture: Nintendo EPD/Nintendo by way of Polygon
8. Pelt the Assemble with obtainable ice fruit and/or simply knock it out along with your barrel on a stick. When you can hit the Assemble off the sting of the platform, it’ll break instantly within the water.
:format(webp):no_upscale()/cdn.vox-cdn.com/uploads/chorus_asset/file/24668427/sifumim_shrine_5.jpg)
Picture: Nintendo EPD/Nintendo by way of Polygon
9. After you defeat the ultimate Assemble, the shrine will return your gear. However when you’re low on stable weaponry, there’s a spiked ball you possibly can Fuse to a sword earlier than you jet.
10. Enter the ultimate room to seek out the shrine’s solely chest, which comprises a Captain IV Reaper, then head to the sigil to get the Mild of Blessing.
#Sifumim #Shrine #resolution #Zelda #Tears #Kingdom


