
Runakit Shrine location and walkthrough in Zelda: Tears of the Kingdom
It is important to note that the word “you” means “you”. Runakit ShrineThe location of the hotel is Tears of the Kingdom: The Legend of Zelda’s Hyrule Ridge area, just northwest of Ludfo’s Bog.
You can use this guide to help you locate the Runakit Shrine. Solve the puzzles there and get the chest. The Light of Blessing.
When you’re done, our shrine locations page or interactive Hyrule map can direct you toward something else to do.
Runakit Shrine location
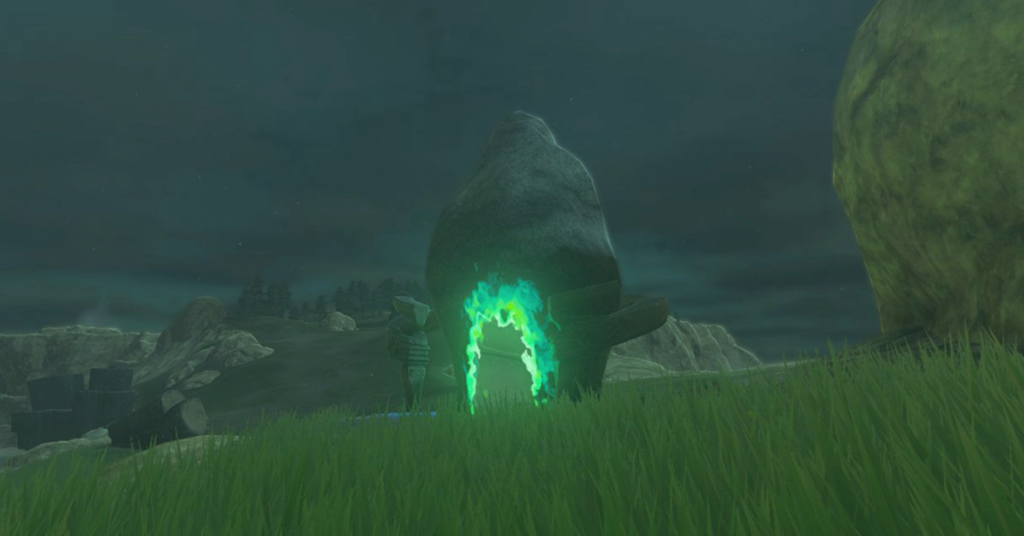
Runakit Shrine lies within Hyrule Ridge. The coordinates are (-2534, 1167, 0177). It’s northwest of Ludfo’s Bog and at the northeastern base of Mount Rhoam.
Runakit Shrine walking tour
Runakit Shrine is a large, open space with many platforms and rails. It’s an overwhelming space, but don’t worry: The shrine is complex, but we’ll get you through it. In the simplest terms, you’ll navigating a ball around the shrine and using your glider to follow it.
Let’s get you started.
1. Head straight down and to the end of this platform. There’s a gap to cross, with two ladders at the other side. You can use your glider.
:format(webp):no_upscale()/cdn.vox-cdn.com/uploads/chorus_asset/file/24629639/runakit1.png)
Image: Nintendo EPD/Nintendo via Polygon
2. Ascend the ladders to the top of the platform. There’s a large ball right at the top of the platform. To its right, there’s a two-bar rail system leading to the next platform. The large ball can be placed on a platform. Let it move to the following platform. Slide yourself there as well.
:format(webp):no_upscale()/cdn.vox-cdn.com/uploads/chorus_asset/file/24629644/runakit2.png)
Image: Nintendo EPD/Nintendo via Polygon
3. Four logs are on the platform. This platform has four logs. Ultrahand to fuse two of them to the ball, putting each log’s tip on opposite ends. Make sure they’re even, because there will stabilize the ball as it travels down the next series of rails. Slide the ball along with the rails.
:format(webp):no_upscale()/cdn.vox-cdn.com/uploads/chorus_asset/file/24629646/runakit3.png)
Image: Nintendo EPD/Nintendo via Polygon
4. You can find a treasure box on the left-hand side of the area after you have landed. While we collect the treasure, ignore the ball. Before the platform, also on the left side room against the wall, there are four panels — two are already joined in a caret shape, and two are single panels. The single panels should be arranged to form a caret.
5. You can move the panels along the rail to make a sort of walkway to reach the treasure chest ladder. Because of the caret shape, they’ll be able to balance on the rail.
:format(webp):no_upscale()/cdn.vox-cdn.com/uploads/chorus_asset/file/24629657/runakit4.png)
Image: Nintendo EPD/Nintendo via Polygon
6. The ladder is just a short hop away. Grab treasures by climbing the ladder.
7. Bring a pair of panels with you when returning to the platform. Turn to your right, away from the wall, and you’ll see another caret-shaped panel. Secure two panels together to create an U shape — use the ones that were already fused, not the one you fused together. The box will have a top, a side and a bottom.
8. You can use the parts to make a box by closing off the U shape. Now you’ve got a box with a bottom and four sides.
:format(webp):no_upscale()/cdn.vox-cdn.com/uploads/chorus_asset/file/24629669/runakit5.png)
Image: Nintendo EPD/Nintendo via Polygon
9. The logs should be facing each other. Take the last caret from the rails. Then, place it on the top of the logs.
:format(webp):no_upscale()/cdn.vox-cdn.com/uploads/chorus_asset/file/24629673/runakit6.png)
Image: Nintendo EPD/Nintendo via Polygon
10. Put the ball in the box. Now, you’ll move the whole box to the single rail. It’s like using a hook. Let it go, and it’ll travel to the next platform.
:format(webp):no_upscale()/cdn.vox-cdn.com/uploads/chorus_asset/file/24629681/runakit7.png)
Image: Nintendo EPD/Nintendo via Polygon
11. You can follow your glider onto the platform by using it.
12. The ball can be removed from the container using UltrahandYou can then carry the ball up to the ramp. There’s an indent in the floor straight ahead where you’ll put the ball.
:format(webp):no_upscale()/cdn.vox-cdn.com/uploads/chorus_asset/file/24629715/runakit8.png)
Image: Nintendo EPD/Nintendo via Polygon
13. It will then open. The gate will open. The Light of Blessing.
#Runakit #Shrine #location #walkthrough #Zelda #Tears #Kingdom


