
Mayachideg Shrine solution in Zelda: Tears of the Kingdom
Mayachideg ShrineIt is situated within Tears of the Kingdom – The Legend of Zelda’s Eldin CanyonNear the South Akkala Stable.
Our guide will help you find the Mayachideg Shrine location, solve its puzzles, and collect the chest — and its reward! — and Light of Blessing. Like other “Proving Grounds” shrines, the Mayachideg Shrine and its “Hunting Grounds for Proving Grounds” challenge is all about combat.
When you’re done, our shrine locations page or interactive Hyrule map can direct you toward something else to do.
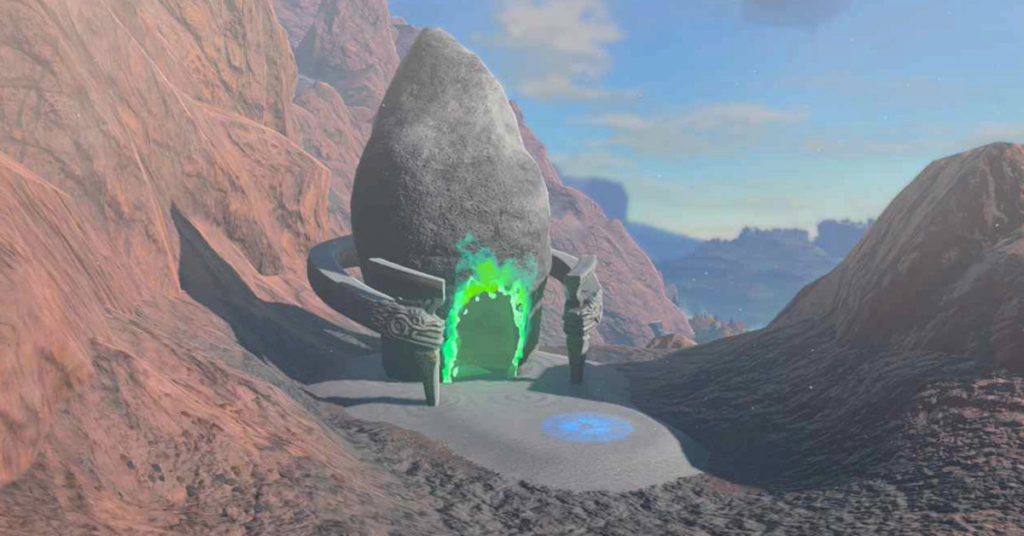
Mayachideg Shrine is located in the city of Mayachideg.
:format(webp):no_upscale()/cdn.vox-cdn.com/uploads/chorus_asset/file/24675897/mayachidegimage.png)
Graphic: Jeffrey Parkin, Nicole Carpenter/Polygon | Source images: Nintendo EPD/Nintendo via Polygon
You’ll find the Mayachideg ShrineIn the meantime, Eldin Canyon The South Akkala Stable is located in the region. This makes it easy to get from the shrine directly to the Stable. These are the exact coordinates. (3061, 1823, 0216).
Mayachideg Shrine puzzle solution
Mayachideg Shrine is a “Proving Grounds” shrine, specifically called “The Hunt.” You’ll fight Constructs, but you’ll have more than just primitive weapons. There are Zonai gadgets scattered throughout the game to create some interesting fighting tools.
1. Straight into the shrine. There’s a Thick stickOn the left. Straight ahead, at the end of the room by the gate, you’ll see a Construct. But first, you’ll come across two Zonai devices. These target enemies, but without anything pointy at the end, they aren’t super helpful.
2. Two spiky panels are located further down the slope. These can be glued on with Ultrahand.
:format(webp):no_upscale()/cdn.vox-cdn.com/uploads/chorus_asset/file/24675887/mayachideg1.png)
Image: Nintendo EPD/Nintendo via Polygon
3. Bait the Construct back up toward the Zonai devices then turn them on by hitting ‘em. They’ll move and start poking the Construct.
:format(webp):no_upscale()/cdn.vox-cdn.com/uploads/chorus_asset/file/24675890/mayachideg2.png)
Image: Nintendo EPD/Nintendo via Polygon
4. The gate will open into a room with significantly more Constructs — six of them. Make sure to pick up the loot that’s been dropped, and the other weapons by the gate.
5. Use your devices to carry them with you. Ultrahand Place them right in front of the ramp that leads to your enemies. Turn on the spikes by pressing them, and then allow them to do their work.
6. Take a right turn and go up the right side ramp while the Constructs battle the devices.
:format(webp):no_upscale()/cdn.vox-cdn.com/uploads/chorus_asset/file/24675891/mayachideg3.png)
Image: Nintendo EPD/Nintendo via Polygon
7. First, take the right. You’ll see a platform with a gap, and several items on the platform. Jump over using your glider.
8. The Zonai device can be attached to the slab of stone using adhesive. UltrahandJust like with spikes. Stick the Zonai shock devices to the front edge of the slab. Constructs might have noticed you. Be careful not to get hit by their arrows.
:format(webp):no_upscale()/cdn.vox-cdn.com/uploads/chorus_asset/file/24675892/mayachideg4.png)
Image: Nintendo EPD/Nintendo via Polygon
9. You can use UltrahandThe device must be moved to the same platform where Constructs are.
10. The device can be turned on by pressing the arrow. It’ll start seeking out Constructs to electrify.
11. Slide down, then head back up. There’s another Zonai honing device and a laser emitter. Combine them and then send the device off again. It’s possible that there are Constructs in this area, and you will need to remove them first before assembling the rest of your setup.
12. There’s another set of Zonai devices on what is now your right-side wall, if you’re facing the gate you came in from. It will start working as soon as you set it up. This one shoots flames. At the very top of the structure, there’s a cannon that you can turn on and hold, then aim at Constructs yourself. Be careful of shooting while you’re close to enemies — you will get hurt!
:format(webp):no_upscale()/cdn.vox-cdn.com/uploads/chorus_asset/file/24675894/mayachideg6.png)
Image: Nintendo EPD/Nintendo via Polygon
13. You can fight against the constructs when they interfere with your work. The devices are going to do the majority of the work. You can assist if you wish, but they will be doing the bulk. You could use two spikey balls. FuseYou can also use a weapon that is located at the centre of the space to help you in an attack. You might have to occasionally reposition the auto-killing devices.
14. Once all the Constructs are killed, you’ll get your gear back. Once the door at the end of the area opens, you’ll be able to get your gear back.
15. Take a look at the room and collect your reward. The word contains Captain III spearThe damage is 36. To complete the shrine, you must examine the sigil. Light of Blessing.
#Mayachideg #Shrine #solution #Zelda #Tears #Kingdom


