Jirutagumac Shrine solution in Zelda: Tears of the Kingdom
Jirutagumac ShrineThere is a temple within Tears of the Kingdom: The Legend of Zelda’s Lanayru Sky ArchipelagoAbove the Upland Zorana Skyview Tower.
Our guide will help you find the Jirutagumac Shrine location, solve its puzzles, and walk you through the “A Flying Device” trial so you can collect its chest and Light of Blessing.
When you’re done, our shrine locations page can direct you to another nearby shrine to tackle.
Jirutagumac Shrine Location
:format(webp):no_upscale()/cdn.vox-cdn.com/uploads/chorus_asset/file/24657161/Zelda_tears_of_the_kingdom_jirutagumac_shrine_2.jpg)
Image: Nintendo EPD/Nintendo via Polygon
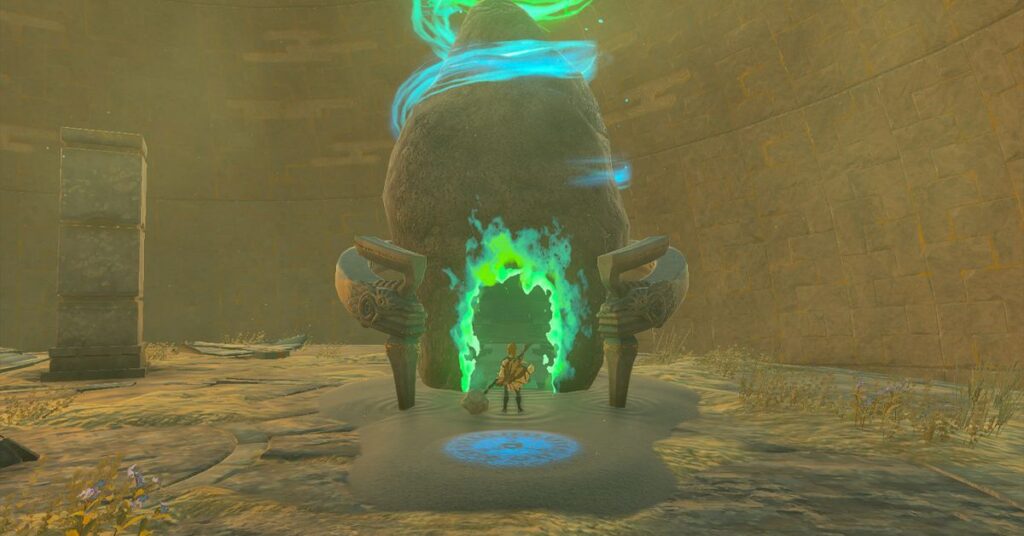
You can find the Jirutagumac Shrine in the Lanayru Sky Archipelago right above the Upland Zorana Skyview Tower. Jirutagumac Shrine’s exact coordinates are: 2916, 0533, 0951.
The shrine is fun, though it’s not easy to get into, since you must first fly and then land in a rock spinning sphere.
Then, go to the Skyview Tower. Once you begin your descent, look for the definitely-not-a-Death-Star due southeast (it’s really hard to miss) and make your way over to it. A hole is located directly above it that leads to the shrine. Don’t worry if you mistime your landing — as long as you stay right on top, you can jump in the hole when it’s there.
:format(webp):no_upscale()/cdn.vox-cdn.com/uploads/chorus_asset/file/24657162/Zelda_tears_of_the_kingdom_jirutagumac_shrine_1.jpg)
Image: Nintendo EPD/Nintendo via Polygon
Jirutagumac Shrine part 1, solution
1. Walk in and you’ll immediately spot two The wings of the wingIn front of a gap. At the other end, in the distance, you can make out the green–blue chemtrail of your goal. The puzzle title suggests that you must find a method to cross the gap.
:format(webp):no_upscale()/cdn.vox-cdn.com/uploads/chorus_asset/file/24657164/Zelda_tears_of_the_kingdom_jirutagumac_shrine_13.jpg)
Image: Nintendo EPD/Nintendo via Polygon
2. Prior to proceeding, it is important that you identify any From this first platform. You’ll be able to reach it en route to the end of the shrine; for now, take a second to clock where it is.
:format(webp):no_upscale()/cdn.vox-cdn.com/uploads/chorus_asset/file/24657166/Zelda_tears_of_the_kingdom_jirutagumac_shrine_15.jpg)
Image: Nintendo EPD/Nintendo via Polygon
Jirutagumac Shrine Solution Part 2
1. Grab the left hand. WingUltrahand (the Right-Hand) wingIt is called a Red Herring-Burgess). It is best to send it down the hill as shown in the image below and then follow it with your glider until you reach the platform.
:format(webp):no_upscale()/cdn.vox-cdn.com/uploads/chorus_asset/file/24657167/Zelda_tears_of_the_kingdom_jirutagumac_shrine_18.jpg)
Image: Nintendo EPD/Nintendo via Polygon
2. Here you’ll see three spawning carts — two will immediately roll away, and the third will stay put as it’s perpendicular to the slope. Carry the wing up to the carts and affix it to the one that’s not going anywhere.
:format(webp):no_upscale()/cdn.vox-cdn.com/uploads/chorus_asset/file/24657170/Zelda_tears_of_the_kingdom_jirutagumac_shrine_20.jpg)
Image: Nintendo EPD/Nintendo via Polygon
3. Once you’re ready, roll the wingIt is best to slide down to launch it to the left side. After it, glide down.
:format(webp):no_upscale()/cdn.vox-cdn.com/uploads/chorus_asset/file/24657171/Zelda_tears_of_the_kingdom_jirutagumac_shrine_21.jpg)
Image: Nintendo EPD/Nintendo via Polygon
Jirutagumac Shrine Solution Part 3
1. It only takes a second to get the treasure while you’re at the right platform. Grab the WingThe following are some examples of how to get started: You can also check out our website for more information.You can position the bridge as shown below. If you drop it, you need to turn around and climb up the ladder to start again — so don’t drop it!
:format(webp):no_upscale()/cdn.vox-cdn.com/uploads/chorus_asset/file/24657174/Zelda_tears_of_the_kingdom_jirutagumac_shrine_23.jpg)
Image: Nintendo EPD/Nintendo via Polygon
2. While standing on your bridge of choice, ascend to the top. Take a small piece Large Zonaite. Jump down when you’re ready to carry on with the puzzle.
3. Grab hold of your opportunity “Wing”Position it like the image below. Place it carefully and grab onto the FanFrom behind, you.
:format(webp):no_upscale()/cdn.vox-cdn.com/uploads/chorus_asset/file/24657175/Zelda_tears_of_the_kingdom_jirutagumac_shrine_24.jpg)
Image: Nintendo EPD/Nintendo via Polygon
4. Attach the FanBack of the WingIt will only go back so far. The weight will be reduced. FanIt’s a video game. It’s a video game The following are some examples of how to get started:A lesson in aerodynamics
:format(webp):no_upscale()/cdn.vox-cdn.com/uploads/chorus_asset/file/24657176/Zelda_tears_of_the_kingdom_jirutagumac_shrine_25.jpg)
Image: Nintendo EPD/Nintendo via Polygon
5. Once you’re ready for take off, give that FanTap your weapon. Enjoy this next part.
6. Enjoy a few moments to really appreciate the beauty of The coolest thing about this?You look. You can also adjust the flight path using your WingYou need to.
:format(webp):no_upscale()/cdn.vox-cdn.com/uploads/chorus_asset/file/24657179/Zelda_tears_of_the_kingdom_jirutagumac_shrine_28.jpg)
Image: Nintendo EPD/Nintendo via Polygon
7. When you’re above the platform, glide to safety and interact with the sigil to collect your Light of BlessingCompleting the Jirutagumac Shrine is a must!
#Jirutagumac #Shrine #solution #Zelda #Tears #Kingdom