
Destiny 2 ‘The Variable’ steps to get Vexcalibur
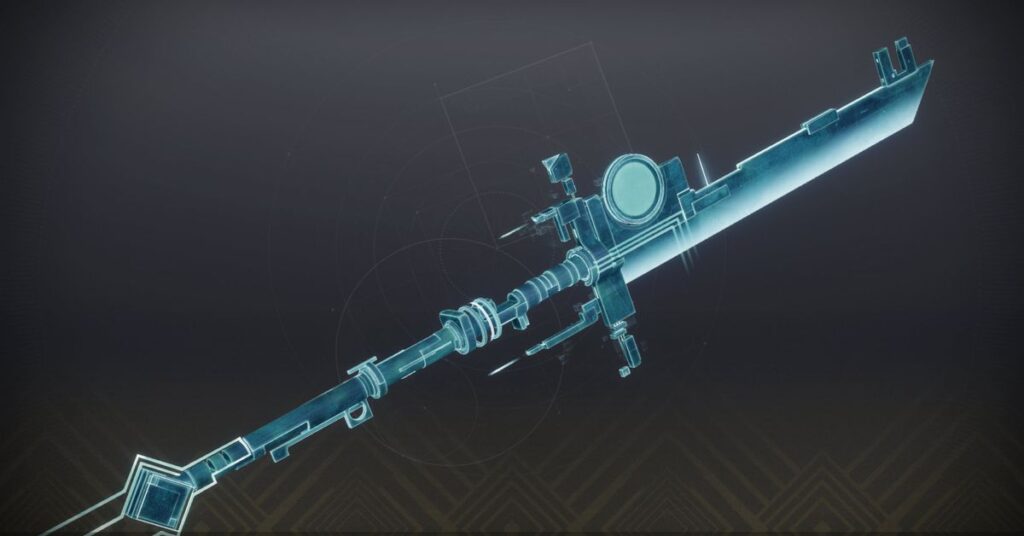
Vexcalibur was an Exotic, introduced in Destiny 2’s LightfallThe Season of Defiance allows for expansion.
Vexcalibur is an Exotic Void glaive now available to season holders. This weapon provides you with over-shields when blocked by your allies. To unlock the quest that grants you the weapon, you’ll first need to complete a small puzzle in the Gulch area of the EDZ. Once you complete the puzzle you’ll unlock the new Avalon secret mission that grants you the new glaive.
This is how it works Destiny 2 guide, we’ll go over how to unlock the Vexcalibur Void glaive and how to start and navigate “The Variable” quest.
Vexcalibur in Destiny 2: How do you get it?
These are the steps you need to take in order to obtain Vexcalibur for Destiny 2:
- Explore the Gulch of the EDZ, where Guardians reported strange objects.
- Keep an eye out for digital footprints.
- Discover the secrets of the Vex network node within the EDZ by exploring its pages. (Play ‘Avalon’ mission //node.ovrd.AVALON//.)
- For analysis, bring the object to the War Table from the Vex Network.
You will need to attain 1800 Power level in order to finish this quest.
Once you have Vexcalibur, there are a few things to follow up on from week 2 onwards — including unlocking the Authorization Override mod, the M1R Distribution Matrix II intrinsic, and the Immovable Refit trait. Here are the details for each quest step:
How to start ‘The Variable’ in Destiny 2
This quest begins by solving the code at the Gulch. This requires you to collect the six code fragments, we’ll go over each of the locations below.
Locating the nodes within the Gulch of EDZ
You must gather six code fragments. To get to the next pickup, you have to wait 30 seconds between each one. The order we’ve placed them in below is the order we suggest you pick them up in.
:format(webp):no_upscale()/cdn.vox-cdn.com/uploads/chorus_asset/file/24487326/Vexcalibur.Trace1.jpg)
Image: Bungie via Polygon
1. You’ll first trace at the top of the hill next to the Cabal gear.
:format(webp):no_upscale()/cdn.vox-cdn.com/uploads/chorus_asset/file/24487328/Vexcalibur.Trace2.jpg)
Image: Bungie via Polygon
2. Turn around, you’ll find the second trace below the bridge.
:format(webp):no_upscale()/cdn.vox-cdn.com/uploads/chorus_asset/file/24487330/Vexcalibur.Trace3.jpg)
Image: Bungie via Polygon
3. You will find the third trace in the trees on the hillside opposite to the first.
:format(webp):no_upscale()/cdn.vox-cdn.com/uploads/chorus_asset/file/24487332/Vexcalibur.Trace4.jpg)
Image: Bungie via Polygon
4. The dead middle is where you will find the fourth trace.
:format(webp):no_upscale()/cdn.vox-cdn.com/uploads/chorus_asset/file/24487333/Vexcalibur.Trace5.jpg)
Image: Bungie via Polygon
5. Take a look at the Cabal Door from the fourth trace. It is located directly to your right, among some trees.
:format(webp):no_upscale()/cdn.vox-cdn.com/uploads/chorus_asset/file/24487334/Vexcalibur.Trace6.jpg)
Image: Bungie via Polygon
6. Continue along the wall from the fifth trace, and you’ll eventually see the sixth and final trace above the roadsigns.
Follow the traces to the cave to unlock the ‘Avalon’ //node.ovrd.AVALON// mission
:format(webp):no_upscale()/cdn.vox-cdn.com/uploads/chorus_asset/file/24487335/Vexcalibur.Cave.jpg)
Image: Bungie via Polygon
Continue on to the next area. Follow the path and you’ll see the cave on the left-hand side. Enter the cave and reach the harpy to start the mission //node.ovrd.AVALON//. Once you start the mission in this way, it’ll be available on the EDZ in the director.
:format(webp):no_upscale()/cdn.vox-cdn.com/uploads/chorus_asset/file/24487346/Vexcalibur.Cave2.jpg)
Image: Bungie via Polygon
Completing the ‘Avalon’ //node.ovrd.AVALON// mission
Finalize the mission. The following video guide by Esoterickk, a prominent member of the community, can be helpful if you have any questions.
Remember, after you get Vexcalibur, there are a few things to follow up on from week 2 onward — including unlocking the Authorization Override mod, the M1R Distribution Matrix II intrinsic, and Immovable Refit trait. Let’s go through these one-by-one now.
Vexcalibur Authorization Override
Once you acquire Vexcalibur, you’ll get the quest “Vexcalibur: Authorization Override.” This is a short quest that involves killing Vex with the glaive. Upon completion, you’ll be granted the Authorization Override mod that you can slot into Vexcalibur. You will be able to cross barriers with this mod.
:format(webp):no_upscale()/cdn.vox-cdn.com/uploads/chorus_asset/file/24487493/Vexcalibur.Override.jpg)
Image: Bungie via Polygon
How do I get M1R Distribution Matrix II to Vexcalibur?
This glaive is similar to Revision Zero (an Exotic pulse rifle that was introduced in Season of the Seraph), and will keep its intrinsic updated from week to week. You can then customize it to your taste. To unlock this first upgraded intrinsic, you’ll first need to slot in the Authorization Override mod discussed above. After you’ve got that in your glaive enter the Avalon Mission on Legendary or normal.
:format(webp):no_upscale()/cdn.vox-cdn.com/uploads/chorus_asset/file/24487519/Vexcalibur.M1R2A.jpg)
Image: Bungie via Polygon
Once you slide down the ramp, jump down, and turn around, you’ll see a green button that you’ll need to jump to and activate. Once activated, continue on until you reach the other side of the loop, you’ll know you’re in the right spot when you look up and see the barrier.
:format(webp):no_upscale()/cdn.vox-cdn.com/uploads/chorus_asset/file/24487523/Vexcalibur.M1R2B.jpg)
Image: Bungie via Polygon
To pass the barrier and unlock the chest, sheild Vexcalibur with Vexcalibur. The Enclave will then unlock the first upgrade intrinsic that can be used.
Vexcalibur’s Immovable Refit
:format(webp):no_upscale()/cdn.vox-cdn.com/uploads/chorus_asset/file/24487385/Vexcalibur.Legend.jpg)
Image: Bungie via Polygon
Once you complete the Avalon mission and acquire Vexcalibur, you’ll unlock the Legendary version of the mission. This Legendary mission will unlock the Immovable Resfit.
:format(webp):no_upscale()/cdn.vox-cdn.com/uploads/chorus_asset/file/24487395/Vexcalibur.Immovable.jpg)
Image: Bungie via Polygon
Check out this guide to getting Vexcalibur after you’ve obtained Vexcalibur Destiny 2: Lightfall’s Exotic sidearm, Final Warning; do the same for the exotic heavy machine gun, Deterministic Chaos; or learn where to find all Lost Sectors and Region Chests in Neomuna.
#Destiny #Variable #steps #Vexcalibur


