
Climbing Armor set locations in Zelda: Tears of the Kingdom
You can also find out more about the following: Climbing ArmorSet is the fastest armor set in Tears of the Kingdom: The Legend of Zelda. The set is a return from Breath of the Wild — The steps for finding all three pieces differ greatly. If you are looking to speed up the climbing process, then this method is for you.
Bear in mind that you’re likely to hear about the armor naturally during your travels. You may find treasure maps that are related to the armor, or an NPC who shared information about one piece. That said, you can skip the busywork; you don’t need to find such info in-game to open the chests containing the Climbing Armor.
You can find out where the Climbing Armor sets are located in Zelda Tears Of The KingdomYou can now reach the highest speed possible.
Climbing Armor chest piece location
:format(webp):no_upscale()/cdn.vox-cdn.com/uploads/chorus_asset/file/24654652/Zelda_Tears_of_the_Kingdom_Climbing_Armor_set_locations_14.jpg)
Image: Nintendo EPD/Nintendo via Polygon
Climbing Gear is located in North Hyrule Plain Cave. The coordinates are: (-1188, 0646, 0072)The entrance to the New Serenne Stable is located on a hillside, northwest of Lookout Landing. It’s between Carok Bridge and North Hyrule Plain. If you’re heading to New Serenne Stable, take a detour to the right to find the entrance on the side of a hill.
:format(webp):no_upscale()/cdn.vox-cdn.com/uploads/chorus_asset/file/24654654/Zelda_Tears_of_the_Kingdom_Climbing_Armor_set_locations_15.jpg)
Image: Nintendo EPD/Nintendo via Polygon
As soon as you hop inside, you’ll be greeted by two Like Likes. Yikes. If you haven’t fought one yet, I recommend keeping your distance and going for a bait-and-switch approach.
The weak point of the creature is when it opens its mouth and a lump appears. By attacking the weak spot, you can stun your opponent and continue to damage them.
:format(webp):no_upscale()/cdn.vox-cdn.com/uploads/chorus_asset/file/24654656/Zelda_Tears_of_the_Kingdom_Climbing_Armor_set_locations_17.jpg)
Image: Nintendo EPD/Nintendo via Polygon
Then you can The following are some of the ways to improve your own ability. get swallowed, though, you won’t lose that much health. But it’s best to avoid it. If a Like Like throws rocks at you, turn on the activate button. RecallSend them the throw back and rewind it.
Next, you’ll have to climb up. I found the left wall to be a much more approachable — if you get into the water you’ll slip, so you’ll have to rely on your jumps or find a way to dry Link’s clothes (making a campfire can help if you’re really struggling).
:format(webp):no_upscale()/cdn.vox-cdn.com/uploads/chorus_asset/file/24654657/Zelda_Tears_of_the_Kingdom_Climbing_Armor_set_locations_18.jpg)
Image: Nintendo EPD/Nintendo via Polygon
You need to continue going upwards until you come across two waterfalls. You’ll find a Horriblin guarding them, which you can take down by using RecallOnce they’ve thrown a stone at you, it will be similar to the Like Like. You can then attack them while they’re stunned on the ground. Your bow should also work fine.
:format(webp):no_upscale()/cdn.vox-cdn.com/uploads/chorus_asset/file/24654658/Zelda_Tears_of_the_Kingdom_Climbing_Armor_set_locations_19.jpg)
Image: Nintendo EPD/Nintendo via Polygon
You’ll then end up on a path to the right side of the cave. Two waterfalls are to your left. One is at the bottom, and another one is above.
The chest is located on the other end of the waterfall. Use Ultrahand to scan the environment, too, and you’ll be able to spot the chest.
:format(webp):no_upscale()/cdn.vox-cdn.com/uploads/chorus_asset/file/24654659/Zelda_Tears_of_the_Kingdom_Climbing_Armor_set_locations_20.jpg)
Image: Nintendo EPD/Nintendo via Polygon
Open the bag from the opposite side to get the Climbing Gear. The armor has 3 defenseYou can increase your climbing speed by using.
Climbing Armor legs piece location
:format(webp):no_upscale()/cdn.vox-cdn.com/uploads/chorus_asset/file/24654209/Zelda_Tears_of_the_Kingdom_Climbing_Armor_set_locations_2.jpg)
Image: Nintendo EPD/Nintendo via Polygon
Find the Climbing Boots at Upland Zorana Byroad (coordinates) (2858, 0354, 0227), which is a cave located west of the Zora’s Domain, north of Ralis Pond and east of the Zora River on the map.
:format(webp):no_upscale()/cdn.vox-cdn.com/uploads/chorus_asset/file/24654221/Zelda_Tears_of_the_Kingdom_Climbing_Armor_set_locations_3.jpg)
Image: Nintendo EPD/Nintendo via Polygon
This cave can be fairly confusing at first, but here’s the main route toward the armor (you’re then free to explore the rest on your own!). This first big room has two separate paths. It also contains a little pool of fresh water.
A Like Like, covered with stones, hangs on the wall to the left of the one in the middle. The one on the right, which is where we’re heading, has another Like Like covered in rocks, and there’s a gap in the wall from which you can get to it.
:format(webp):no_upscale()/cdn.vox-cdn.com/uploads/chorus_asset/file/24654363/Zelda_Tears_of_the_Kingdom_Climbing_Armor_set_locations_4.jpg)
Image: Nintendo EPD/Nintendo via Polygon
Take down the enemy or march on. You’re going to end up in a path down below with a vine wall on the other end.
You can cut through with a sharp object, such as a knife or axe. You can use a knife or saber if you have one. Bomb flower will be of help — if you don’t have any, I spotted a few around the cave. You can scan for these creatures using Ultrahand, as we mentioned in the Beginners Tips Guide.).
:format(webp):no_upscale()/cdn.vox-cdn.com/uploads/chorus_asset/file/24654397/Zelda_Tears_of_the_Kingdom_Climbing_Armor_set_5.jpg)
Image: Nintendo EPD/Nintendo via Polygon
Next, you’ll see a flooded room with statues and ruins. Although it may look difficult, the challenge is not as complicated as you might think. You can either swim across or hop on top of the ruin structures in order to remain afloat.
There, you’ll see a door. You can use UltrahandGrab it and slide it up.
:format(webp):no_upscale()/cdn.vox-cdn.com/uploads/chorus_asset/file/24654400/Zelda_Tears_of_the_Kingdom_Climbing_Armor_set_6.jpg)
Image: Nintendo EPD/Nintendo via Polygon
You can empty your room of most water by doing this. Unlike other similar contraptions in other caves, you don’t need to use RecallTo ensure that the door stays in its place, you must hold it up. As soon as the water disappears, hold it upright. You’re free to drop it down again afterward.
From here, you’re free to explore the room and loot whatever you might have missed. You can now access new doors without flooding, including the Climbing Armor Chest underneath the stairs to the left of the door that you lifted.
:format(webp):no_upscale()/cdn.vox-cdn.com/uploads/chorus_asset/file/24654416/Zelda_Tears_of_the_Kingdom_Climbing_Armor_set_7.jpg)
Image: Nintendo EPD/Nintendo via Polygon
Go through the entrance and into the room, where you’ll find the chest with the Climbing boots inside. The armor has a slit on the inside. 3 defenseYour climbing speed will increase.
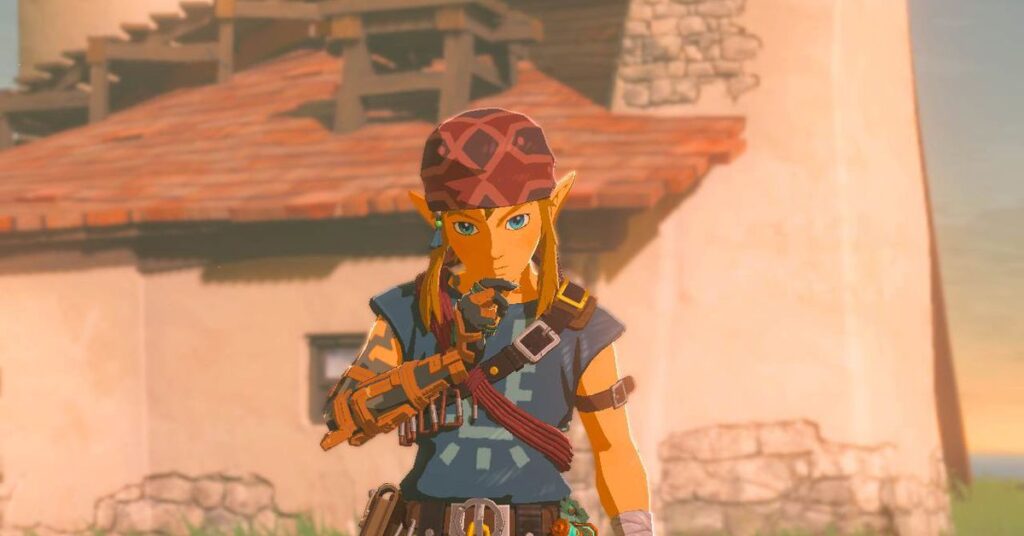
Location of the Climbing Armor Head Piece
:format(webp):no_upscale()/cdn.vox-cdn.com/uploads/chorus_asset/file/24654642/Zelda_Tears_of_the_Kingdom_Climbing_Armor_set_locations_9.jpg)
Image: Nintendo EPD/Nintendo via Polygon
You can find the Climber’s Bandanna head piece inside Ploymus Mountain Cave at the coordinates (3663, 0539, 0272), which is east of the Zora’s Domain. As you’re climbing toward Mipha Court at the peak, you’ll naturally come across Lulu Lake.
:format(webp):no_upscale()/cdn.vox-cdn.com/uploads/chorus_asset/file/24654640/Zelda_Tears_of_the_Kingdom_Climbing_Armor_set_locations_8.jpg)
Image: Nintendo EPD/Nintendo via Polygon
This cave’s layout is simple, but navigating it is quite cumbersome. You’ll have to climb on the multiple surfaces in front of you to get to the other end. Similarly to the caves above, since it’s likely that Link will be wet from either the rain or the lake nearby, he’ll be prone to slip during climbing.
:format(webp):no_upscale()/cdn.vox-cdn.com/uploads/chorus_asset/file/24654643/Zelda_Tears_of_the_Kingdom_Climbing_Armor_set_locations_10.jpg)
Image: Nintendo EPD/Nintendo via Polygon
As such, I recommend that you leave this head piece for last, as you’ll greatly benefit from have that double boost to climb speed from the Climbing Boots and Climbing Gear. Once you’re equipped, it’s a matter of patience. Starting on the left, I suggest climbing up the wall, then jumping off to the other side.
:format(webp):no_upscale()/cdn.vox-cdn.com/uploads/chorus_asset/file/24654646/Zelda_Tears_of_the_Kingdom_Climbing_Armor_set_locations_12.jpg)
Image: Nintendo EPD/Nintendo via Polygon
There are a few times where you’ll see a rock that you can stand on in between ledges. It’s a good rule to follow if one ledge seems too far.
:format(webp):no_upscale()/cdn.vox-cdn.com/uploads/chorus_asset/file/24654647/Zelda_Tears_of_the_Kingdom_Climbing_Armor_set_locations_13.jpg)
Image: Nintendo EPD/Nintendo via Polygon
Paraglide again to the left. As you’re approaching the farther end, you’ll see a larger ledge than usual. You can climb to the wall that’s to the left of it, and then jump to the ledge from there.
:format(webp):no_upscale()/cdn.vox-cdn.com/uploads/chorus_asset/file/24654644/Zelda_Tears_of_the_Kingdom_Climbing_Armor_set_locations_11.jpg)
Image: Nintendo EPD/Nintendo via Polygon
After the last climb, you’ll be on the high ground. The only thing left is to enter the treasure room through an opening to your right. Inside the chest is a treasure. Climber’s Bandanna. The armor has 3 defenseThis increases the speed of your climb. That’s the entire Climbing Armor set!
#Climbing #Armor #set #locations #Zelda #Tears #Kingdom


